-
 +86-13819988181
-
 sales@bodehardware.com

 English
 English
 中文简体
中文简体 Español
Great Tips for Installing Wall Garage Storage Panels
2025-10-17
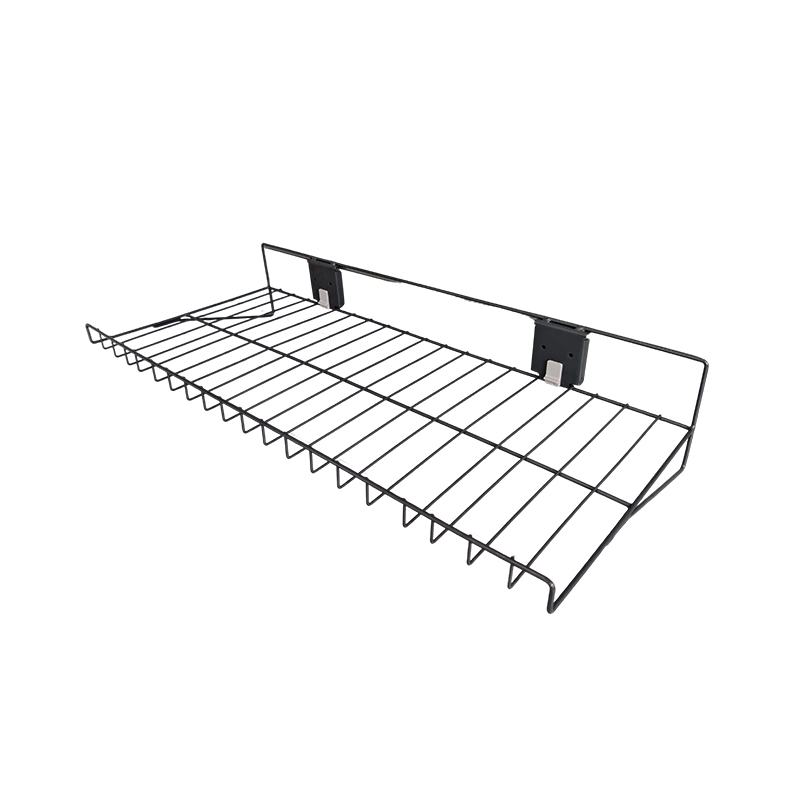
When you decide to upgrade your garage, combining wall garage storage with a well-designed garage storage panel system is a smart move. These two elements work together: the wall storage framework provides the backbone, while the panels let you attach hooks, baskets, and customized layouts. But installation is where many people hesitate.
Pre-Installation Planning
1. Inventory and Layout Sketch
Start by making a list of every item you intend to hang or place on your wall garage storage panels: hand tools, power tools, sports gear, ladders, etc. Sketch the wall(s) where you plan to mount panels, noting dimensions, wall height, and obstacles (electrical outlets, windows, pipes).
2. Locate Wall Studs and Infrastructure
Use a quality stud finder to mark all vertical studs behind the wall. Label them clearly. Also note where pipes, wiring, switches or conduit are. You’ll want your mounting points to align with studs wherever possible, because anchors in drywall alone are not reliable for heavy loads.
3. Choose Panel Material and Accessories
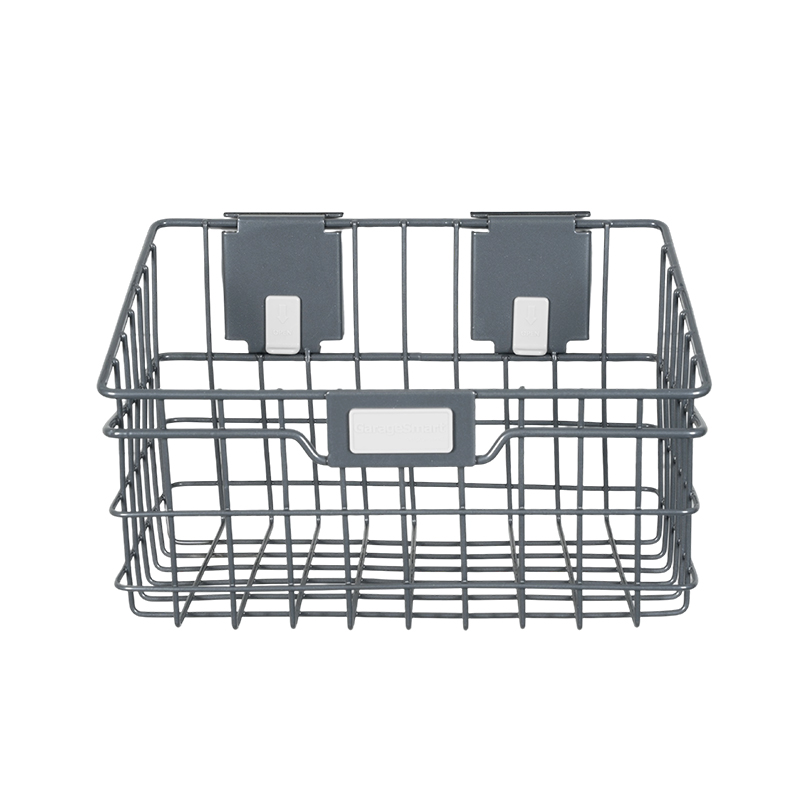
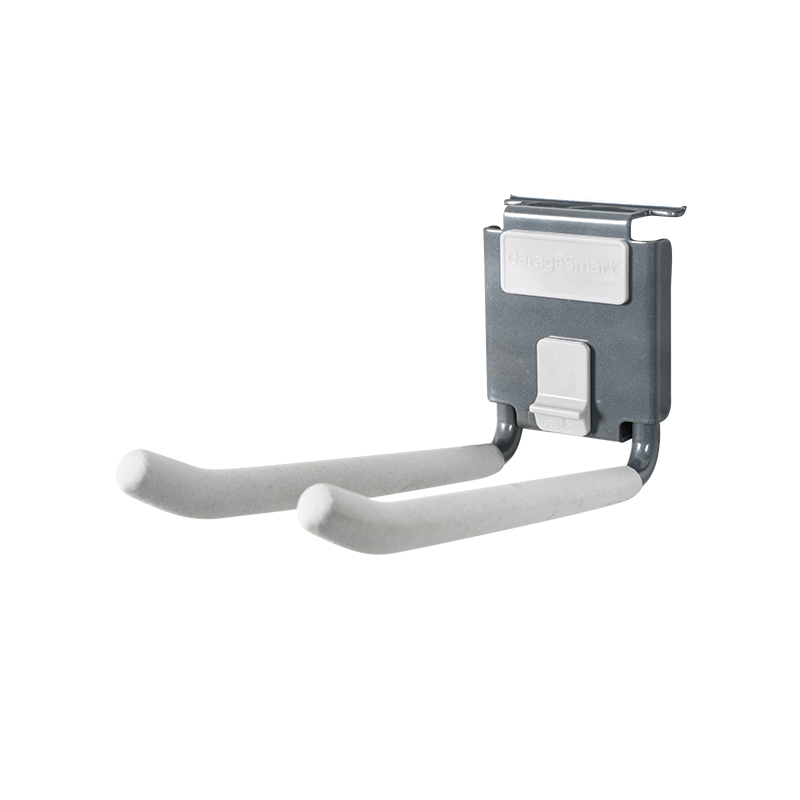
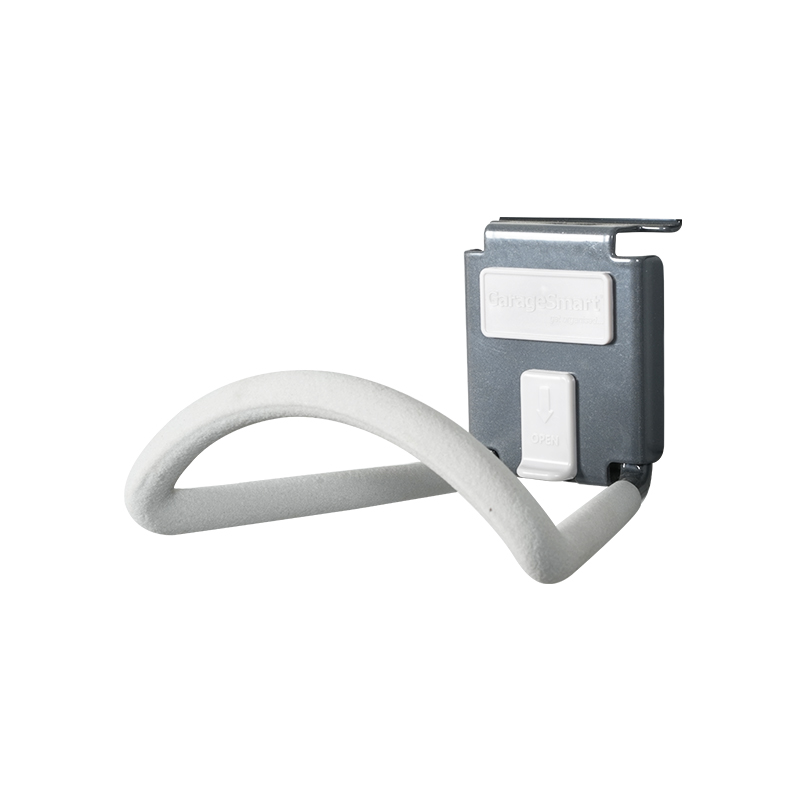
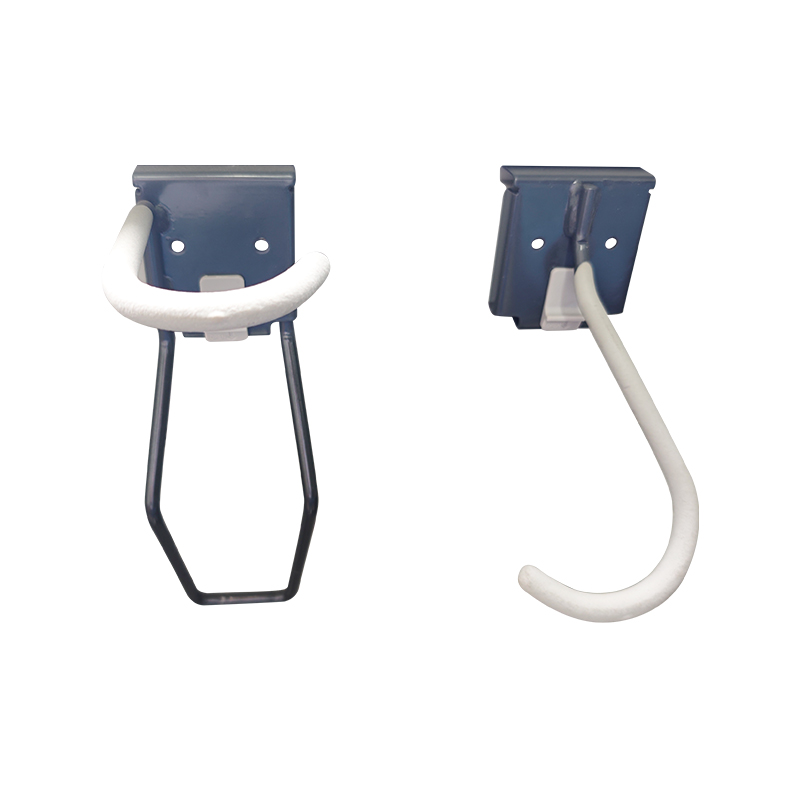
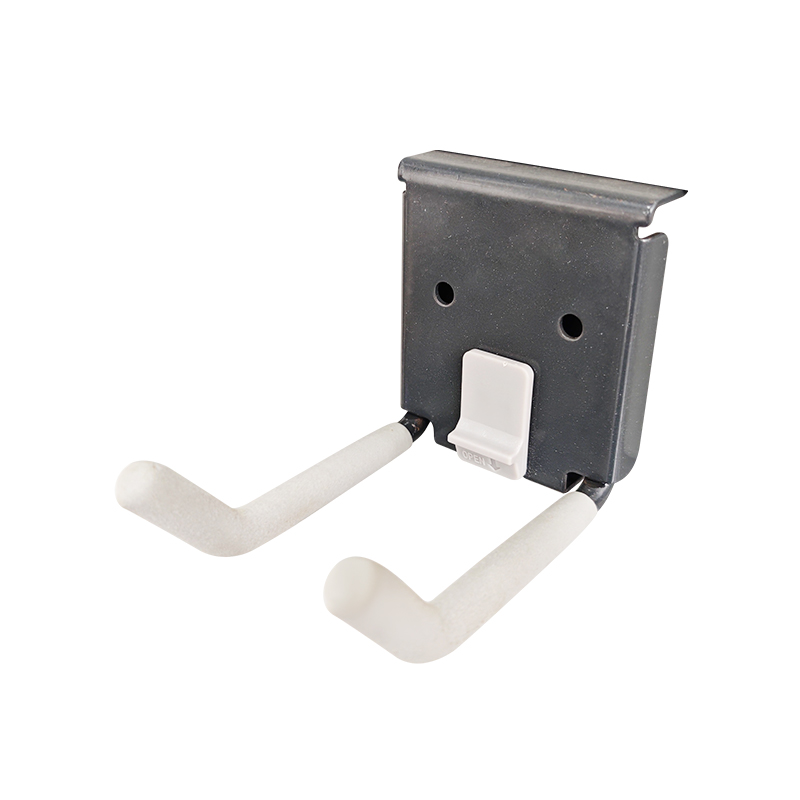
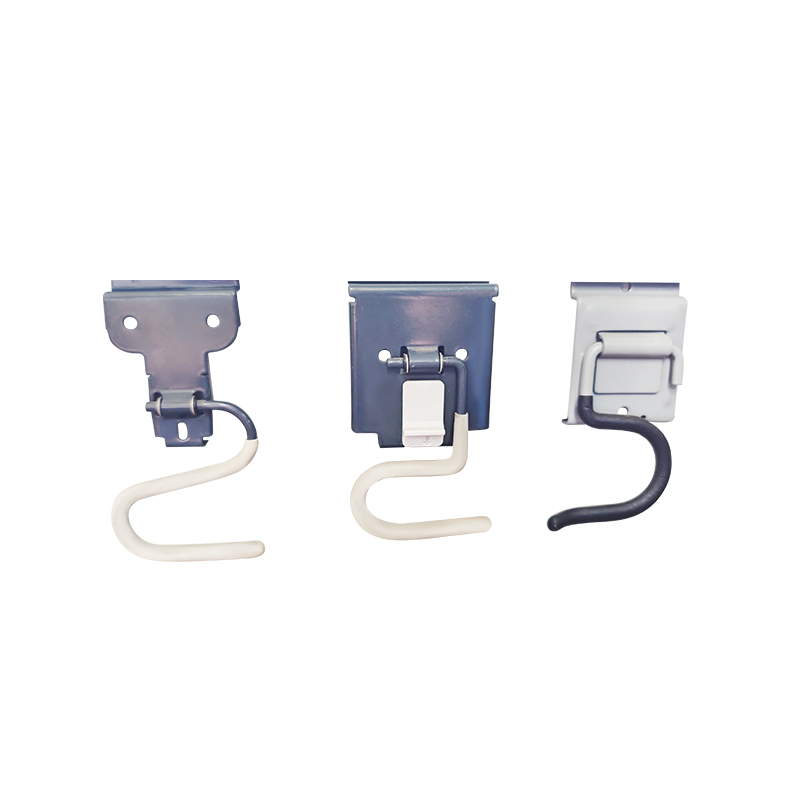
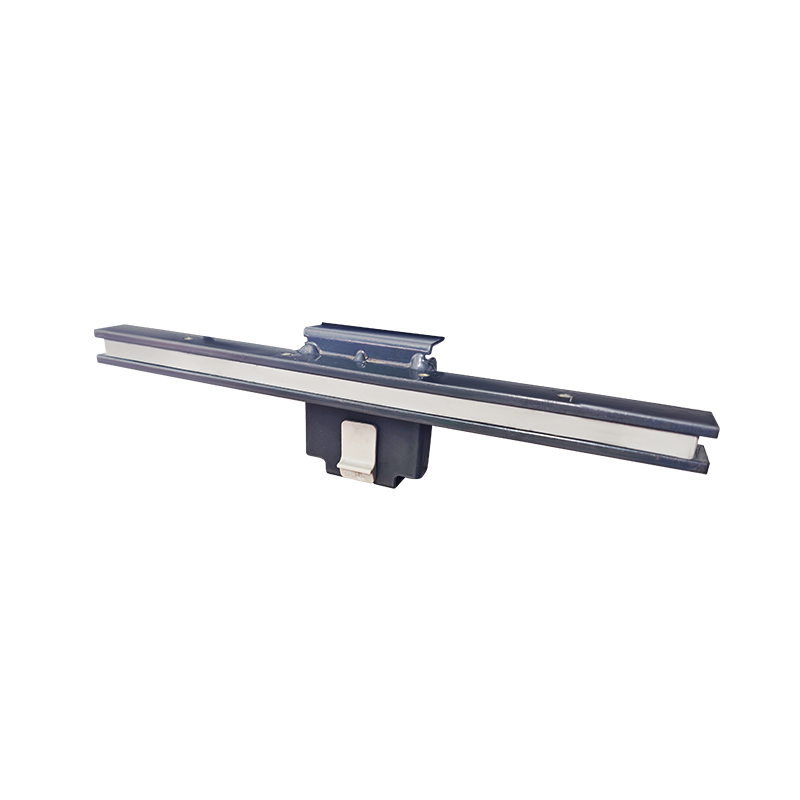
Decide whether your garage storage panels will be metal, PVC, composite, or wood-based. For heavier loads, metal or reinforced composite panels are safer. Then pick compatible hooks, shelves, baskets, and rails. Ensure those accessories are rated for sufficient weight.
Installation Tips & ideal Practices
4. Start with a Level Base Rail or Frame
Many systems begin with a base or top rail that is leveled and fixed first. Fixing a straight, leveled rail ensures all panels align properly as you go. One installer of slatwall systems recommended securing a top rail into wall studs, and then “clicking” each panel into the rail before fastening down.
Use a long level, laser line, or chalk line to maintain alignment across multiple panels.
5. Use Multiple Fasteners into Studs
Wherever possible, screw directly into studs, using lag bolts or structural screws. Use at least two or three fasteners per stud per panel section (top, middle, bottom). This spreads load and reduces stress on a single point. Avoid relying on drywall anchors when heavy items will be hung.
6. Leave Small Gaps for Expansion
Some panel systems expand or contract in varying temperatures or humidity. Leave a small gap (a few millimeters) between adjacent panels to allow for movement without buckling. Overly tight installs may cause warping or curling later.
7. Cut and Trim Panels Carefully
If a panel is wider than the wall or you want to avoid interference with outlets or switches, panels can often be trimmed. Use fine blades or proper cutting tools to make clean edges. After trimming, add edge moldings or trim strips for a finished look.
8. Test Alignment Before Fully Fastening
Before driving in all screws, temporarily hold or clamp the panels in place and check alignment with adjacent units. Make sure edges match and everything is level. Once satisfied, drive in the rest of the fasteners.
9. Gradual Loading and Safety Check
Once your wall garage storage and garage storage panel system is installed, don’t load it fully at once. Start with light items, test each hook or rail for security, and gradually add heavier items. Watch for any signs of bending, loosening screws, or pull-out. Over time, re-check fasteners and adjust as necessary.
Installing a wall garage storage system with a proper garage storage panel setup doesn’t have to be intimidating. By planning carefully, anchoring into studs, leveling rails, allowing proper gaps, and gradually loading, you’ll create a stable, durable system that brings order to your garage.
Bode specializes in high-quality, multifunctional metal shelving solutions. We manufacture durable metal shelves designed to optimize warehouse organization. We are committed to providing our customers with affordable, reliable products while supporting a cleaner and more sustainable environment.

Ready to work with us?
-
Tel
+86-13819988181
-
E-mail
sales@bodehardware.com
Product Links
Quick Links
Contact Us
Copyright © Jinhua Bode Hardware Technology Co., Ltd. All Rights Reserved.

China Garage Storage Racks