-
 +86-13819988181
-
 sales@bodehardware.com

 English
 English
 中文简体
中文简体 Español
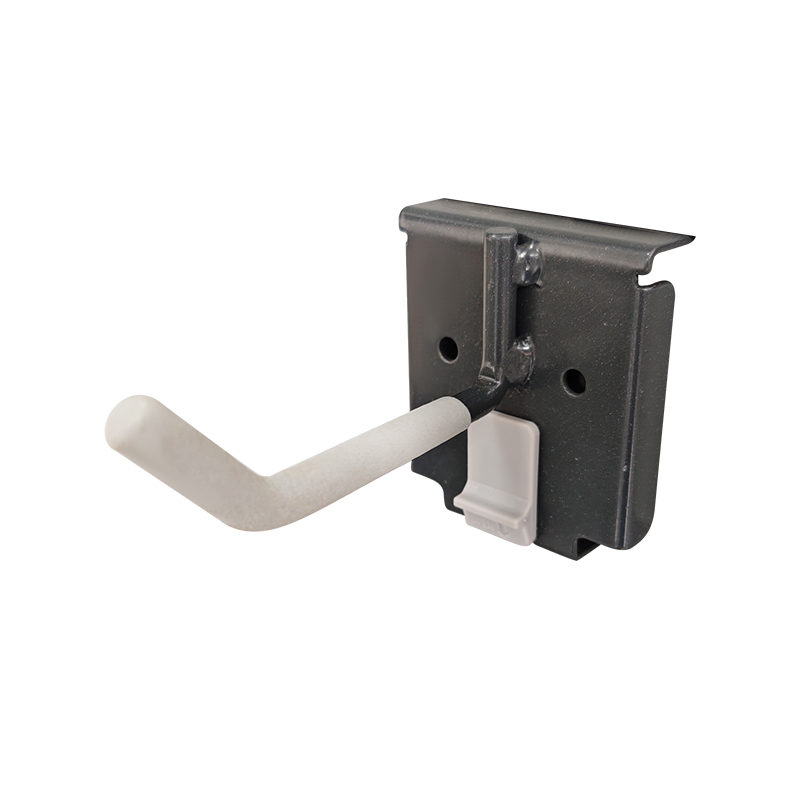
How to Adjust Wall Mounted Hooks for Tools
2026-02-20
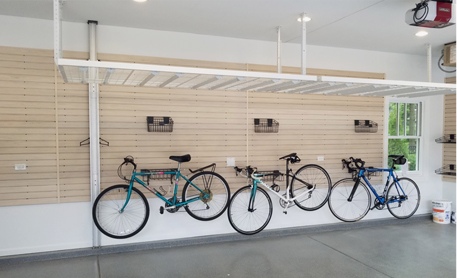
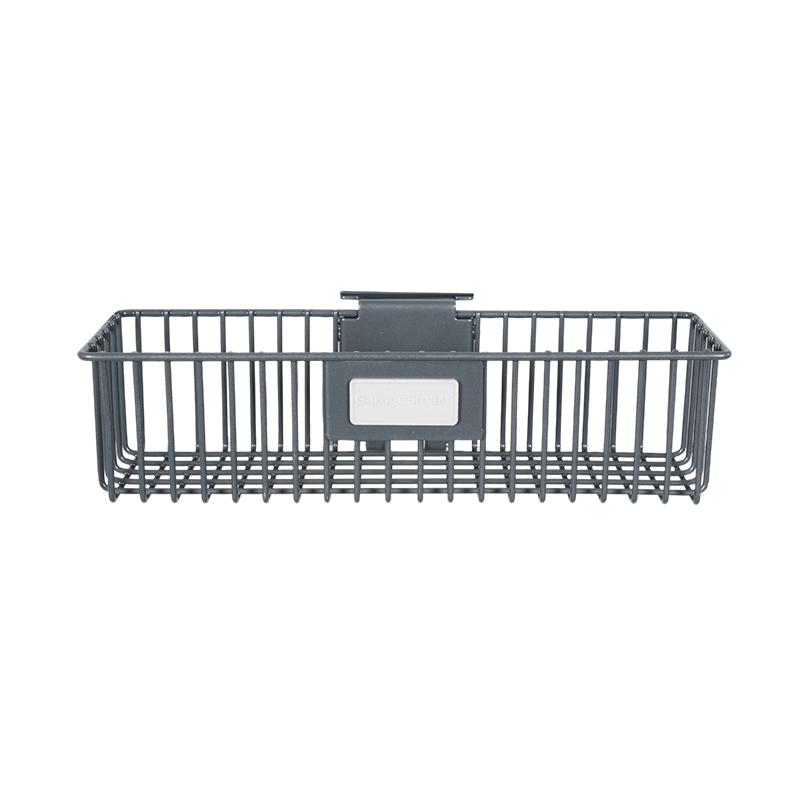
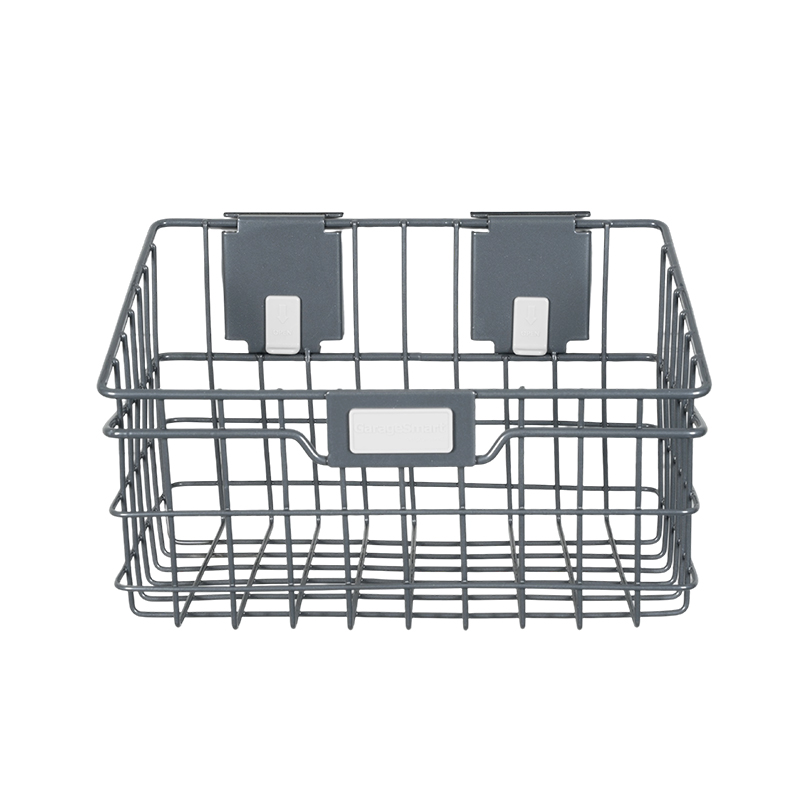
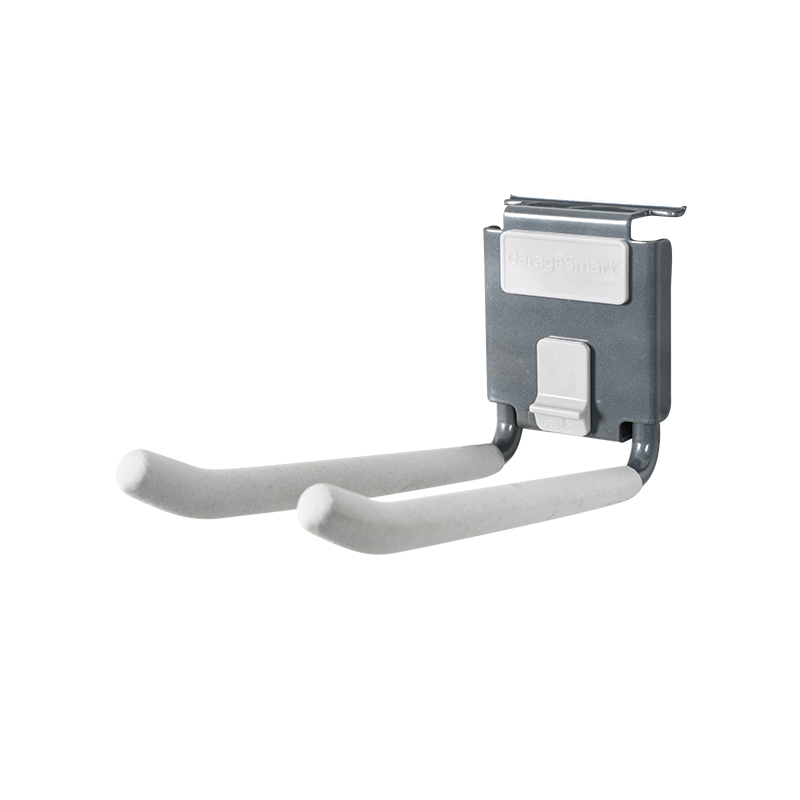
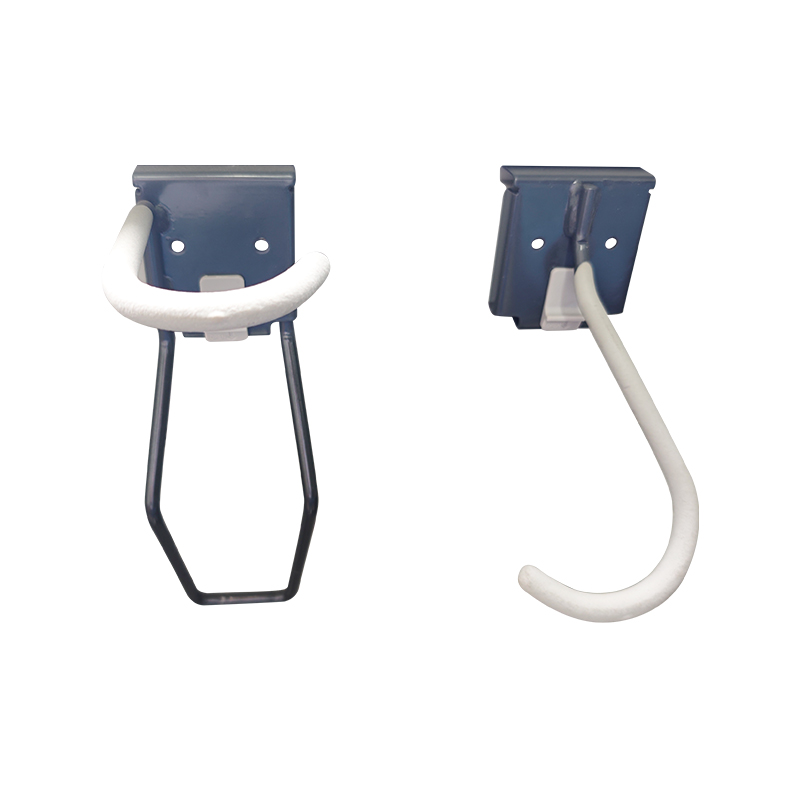
Garage organization often starts with installing Wall Hanging Garage Shelves and Wall Mounted Garage Hooks to keep tools and equipment off the floor and easily accessible. But once you’ve got these systems in place, many users quickly realize that adjusting the placement of hooks based on different tools — whether long-handled yard gear or regularly used hand tools — can make a huge difference in accessibility and convenience. Adjusting hook height, spacing, and position helps make more of your wall storage and ensures a safe, clutter-free workspace.
Users frequently ask how to fine-tune hook positioning so that everything from brooms to power tools hangs securely without interference.
Start With a Plan and Tool Assessment
Before moving any hooks around, take stock of what you want to hang. Different types of tools have different requirements:
Hand Tools (e.g., screwdrivers, wrenches): These are better positioned at standing arm level for quick access.
Long-Handled Tools (e.g., rakes, shovels): These require more vertical space and typically need higher placement so handles don’t crowd other items.
Heavy Tools: Hang heavier gear lower and closer to wall studs to reduce strain on any one hook.
Planning your layout initially can prevent repeated adjustments and drilling holes in your wall unnecessarily. Many DIYers sketch a rough layout or use painter’s tape to mark tentative hook locations before drilling.
Correct Height and Spacing for Different Tools
Adjusting your Wall Mounted Garage Hooks properly starts with sensible height and spacing decisions. Practical user guidance suggests:
Keep frequently used tools at comfortable reach (about 1.5 m from the floor).
Allow at least 10–15 cm between hooks for hand tools to prevent overlapping and make retrieval easy.
For longer items like ladders or fishing rods, increase spacing and raise hooks higher to avoid contact with items beneath.
This approach helps ensure tools don’t bump into each other and reduces wear, making daily use more efficient.
Using Mounting Rails or Backer Boards
If your garage wall surface doesn’t align with studs or you want more flexible adjustment options, consider installing a mounting rail or backer board initial. A continuous horizontal support lets you reposition hooks anywhere along the board without drilling new holes each time you change your layout. This strategy spreads load across multiple studs and makes future adjustments easier.
Many home improvers mount a 2x board horizontally across several studs and then screw hooks directly into that board, giving them more freedom to share spacing evenly and keep items balanced.
Practical Tools and Installation Tips
Effective adjustment also depends on having the right tools and approach during installation:
Use a Level: Mark initial hook positions with a spirit level to ensure alignment across rows. A crooked hook can cause tools to slip or sit awkwardly on the wall.
Stud Finder: Always locate wall studs before installing heavy-duty hooks. Drywall alone often can’t support significant weight without anchors.
Test Load Before Hanging: After repositioning hooks, gently test with the actual tool weight to make sure the hook stays secure and doesn’t pull loose.
These small steps make a big difference in durability and practicality.
Common Adjustment Challenges
Users commonly report frustration when hooks are too close together, tools bump into one another, or certain items interfere with adjacent hooks. Planning and spacing adjustments help reduce this clutter. One practical suggestion many enthusiasts share is mounting a full tool board or slatwall, which offers greater flexibility for moving and adjusting hooks compared to a standard pegboard.
Another situation some encounter is pegboard hooks that don’t grip tightly and fall out whenever a tool is moved — this likely indicates either oversized holes or hooks without retention clips. In such cases, swapping to more secure hook designs or adjusting with locking clips can keep hooks tight and prevent unwanted movement.
Regular Review and Adjustment
Garage needs change over time: seasonal tools come and go, new equipment is added, and priorities shift. Periodically review your layout and move hooks where they make more sense for current needs. For example, you might lower hooks in winter for garden tools that are still in use or raise them for skis and snow gear during peak season.
Simple steps like labeling hook positions or keeping a layout diagram can streamline adjustments and minimize trial-and-error.
At Jinhua Bode Hardware Technology Co., Ltd., we emphasize smart storage design that adapts to changing organizational needs. Whether you’re optimizing hook placement or improving your entire garage layout, small planning steps yield big results.
Bode specializes in high-quality, multifunctional metal shelving solutions. We manufacture durable metal shelves designed to optimize warehouse organization. We are committed to providing our customers with affordable, reliable products while supporting a cleaner and more sustainable environment.
Ready to work with us?
-
Tel
+86-13819988181
-
E-mail
sales@bodehardware.com
Product Links
Quick Links
Contact Us
Copyright © Jinhua Bode Hardware Technology Co., Ltd. All Rights Reserved.

China Garage Storage Racks